AIR-FUEL METERS
This page will explain electrical items such as:
- What is an AF (oxygen) sensor
- Why do I need one
- What to purchase
- How do I use it properly
A-F Sensor
The purpose of an oxygen sensor, more specifically a Wide Band sensor, it to measure how rich or lean your engine is compared to a scientific standard. It compares the amount of oxygen in your exhaust to the clean atmosphere and sends a voltage signal showing the difference between the two. Your meter takes that voltage and displays a ratio, Lambda, or voltage depending on meter design.
Compatible Fuel Types:
- Gasoline / Petrol (leaded or unleaded)
- Alcohol (Methanol)
- Ethanol (E100, E85, E20, E15, E10, etc)
- Flex Fuels
- Compressed Natural Gas (CNG)
- Liquefied Petroleum Gas (LPG)
- Propane
- Many other combustible fuels
Why do I need one?
Nobody "needs" an O2 sensor or AF meter, but let's take a quick look at how you might currently tune your engine without one:
- Warm up your engine and place it under a load
- Observe the exhaust color and tail pipe residue
- Pull sparkplugs and inspect the base circle
- Clean the plugs and reinstall
- Fire up engine, place under load, and tune using exhaust color
- Pull sparkplugs again and inspect the base circle for signs of improvement
- Repeat until the engine no longer responds with improved performance
If you have access to a dynamometer or "dyno" that is a great tool for tuning. You can watch the torque or horsepower go up or down as you tune the carb. This still does not show how rich or lean your engine is, but does help place a load on the engine to assist with tuning. It also helps compare the "before and after" results of your adjustments.
If you can use both the AF meter and Dyno that would be the ultimate advantage!
If you can use both the AF meter and Dyno that would be the ultimate advantage!
What to purchase?
|
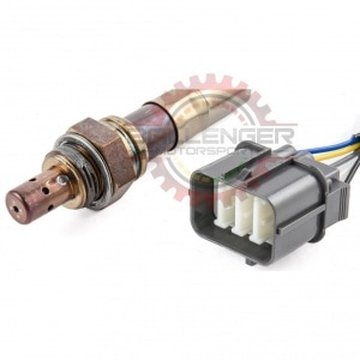
The most important thing when choosing a sensor type is to determine what fuel type you plan on measuring. Most sensors are made by Bosch or NTK and there is a difference. Many sensors come with a Bosch 4.2 or 4.9 sensor. The Bosch 4.9 is not recommended for Methanol or leaded race fuel. We use NTK brand sensors because Ballenger Motorsports has suggested they last longer without fouling. We have used them with great success as well. Sensors are considered a "consumable" which means they wear out. Failing to pre-heat the sensor before running the engine, using with rich running engines, or allowing them to be subject to moisture will all reduce the life of your sensor. |
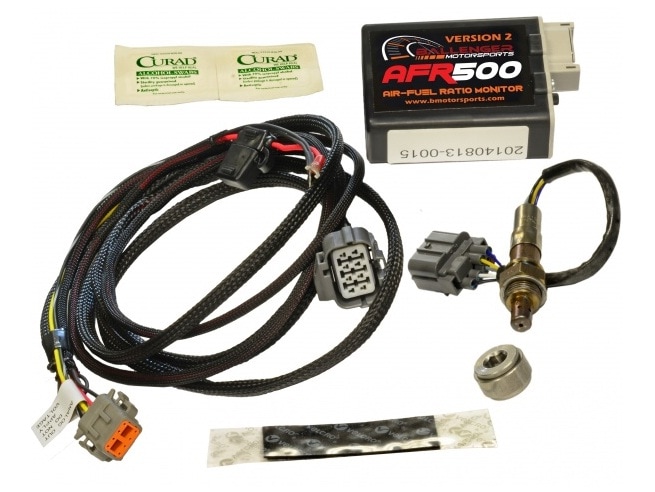
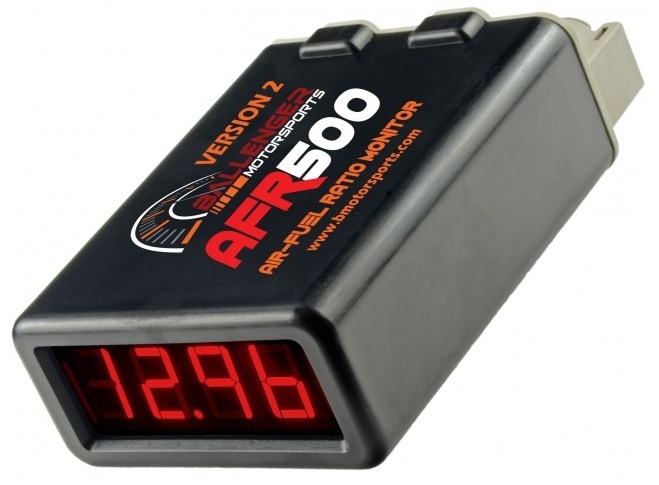
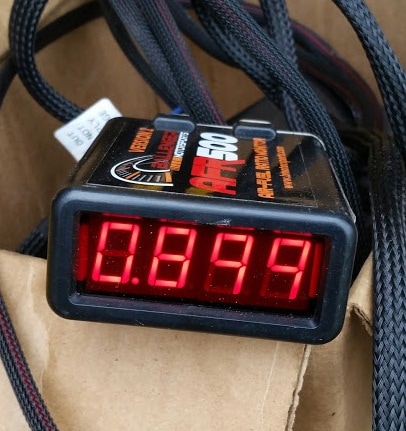
We use and sell the AFR-500 v2 meter because it has been considered one of the best sensors under $1000. We find it to be stable, accurate, durable, and affordable.
We recommend using the meter for tuning only, and not leave it installed all the time. The sensors should be pre-heated for at least 4-5 minutes before starting the engine to avoid fouling the sensor which leads to false readings.
In the end, choose a meter which has a good reputation, quality connections, and solid customer support if you have issues. Here is why we prefer the AFR500...
The AFR500 is capable of reading air fuel ratio values from 9.0:1 to 16.0:1 (0.62-1.1λ) for standard range or 6.0:1 to 20.0:1 (0.411-1.373λ) for wide range with a resolution of 0.1 to provide excellent resolution in the tuning range of most performance vehicles. The AFR500 utilizes sensitive Nernst style, pump & reference cell based sensors that can detect a wide range of oxygen concentrations in order to properly interpret air fuel ratio in a variety of combustion environments.
The AFR500 offers a linear analog output to be used as an input to engine control systems, gauges, or data acquisition systems. The output varies from 9:1 at 0v to 16:1 at 5v for the standard range or 6:1 at 0v to 20:1 at 5v for the wide range.
How to use it?
First you must remember to always heat the sensor before attempting to use it.
We use a small sealed motorcycle battery to power the sensor to avoid draining the vehicle battery.
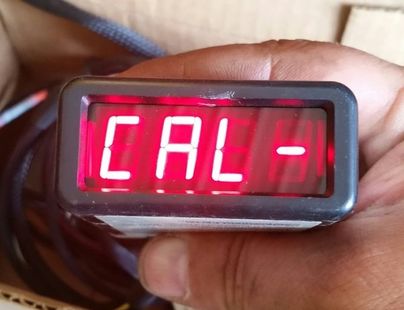
**The first time you use the meter, it must be calibrated with the clean outside air around you. Turn on the meter, allow it to heat up, and the CAL symbol will appear. Observe the "dash" line to the right of the word CAL. If the dash is above or below the word CAL you must carefully turn the knob on the back side of the meter until the line sits in the middle (see photo below).
It is critical that calibration be done OUTSIDE and away from any fumes that might affect the calibration process!
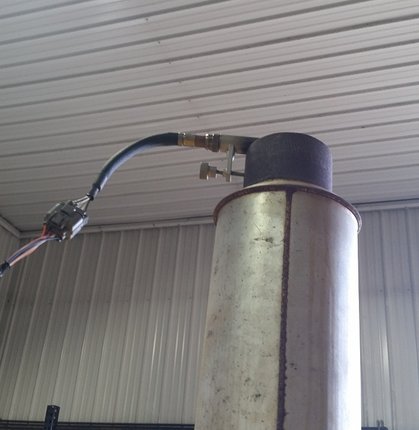
Once calibration is complete, install sensor using a weld-in bung or use the optional exhaust clamp. Once the sensor has been pre-heated you can start the engine and observe the air-fuel ratio using the meter.
Let's talk about meter output for a moment.
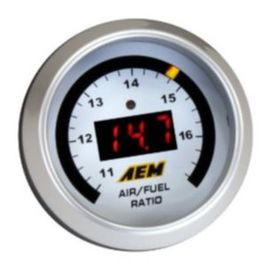
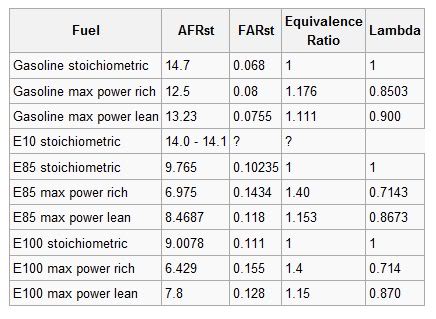
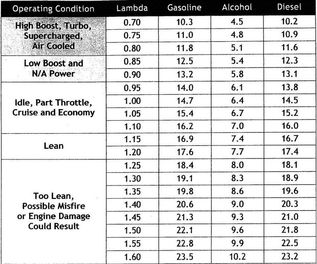
Most meters are setup to display a ratio of air to fuel. Gasoline "perfect" is 14.7:1 with max power somewhere closer to 12.5:1
You can also use a Lambda reading, which we prefer, because Lambda perfect for any fuel is 1.0
With a Lambda reading you can measure gasoline, Methanol, Propane.... the perfect ratio will always read 1.0
When using our C5 ignition we have found 0.88-0.92 Lambda (slightly rich) works very well as a starting point on naturally aspirated engines.
These are two short videos showing the meter in action.
This particular project was a Moline G1000 LP tractor that was running a competitors ignition system. The customer felt there was untapped potential and gave us a call.
After installing our ignition I clamped on the sensor, turned it on to preheat, and fired up the tractor for a test. It has been common to find engines running too lean after installing the C5 system and we feel strongly that no matter what ignition you have, a meter should be used when adjusting the carb.
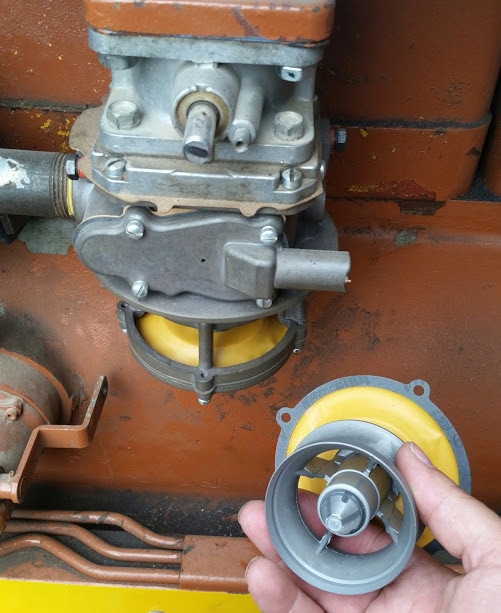
The stock carb was pegging the meter at 1.098 which is about 16:1 so we ordered a larger carb which also has low/high speed tuning screws. As you can see from the first video we still had a reading that was bouncing between 0.95-1.05 which is better, but still too lean.
The meter makes this part of the job super easy!
We had a bit of conversation with the guys at Carb & Turbo in Minnesota and they suggested one more change to allow even more fuel to the engine.
We installed the new parts and this time it was way too rich (see video #2). SUCCESS!!!
Final adjustments were made to 0.88-0.90 Lambda as our starting point. Now with several pulls under his belt, my friend Mark has seen great pulling success. The tractor runs and pulls much harder than it did before and the meter saved us hours of frustration.
New carb, still trying to get more fuel...
First run with the meter...
Here is the second run when the tractor finally ran too rich.
From here we adjusted it to 0.90 Lambda.
From here we adjusted it to 0.90 Lambda.
